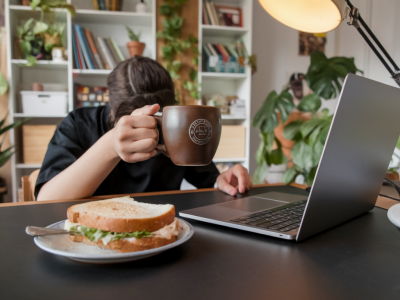
I used to ignore my glutes. Long days at a desk, short workouts focused on cardio, and a belief that “core” meant only ab work left my posterior chain weak — and my lower back aching. Over the years I've learned that tiny, focused changes can make a dramatic difference. Below is a two-week microstrength plan I use with busy clients to rebuild glute strength, improve hip stability, and ease lower-back pain. It’s practical, low-equipment, and designed so you can do it in short sessions that actually fit into a real week.
Why glute strength matters for lower-back pain
Your glutes do a lot: they extend the hip, stabilize the pelvis, and control movements when you walk, stand, and lift. When they're weak or lazy, the hamstrings and lower back often compensate. That compensation creates extra load on the lumbar spine and leads to fatigue, stiffness, and pain. Strengthening the glutes helps redistribute forces, improve posture, and reduce the stress that contributes to back pain.
How this microstrength approach works
This plan focuses on small, consistent efforts: 10–20 minutes most days, mixing activation, strength, and mobility. The idea is to target glute-specific movements, emphasize quality, and build neural pathways that make the glutes fire correctly during everyday activities. You’ll use light resistance and bodyweight so the focus stays on control rather than heavy loading.
Equipment
- Light resistance band (loop band, ~mini band) — very helpful for activation and clamshells
- Pair of light to moderate dumbbells (2–8 kg / 5–15 lb depending on strength)
- Yoga mat or soft surface
- Optional: a glute bridge pad or folded towel for hip comfort
Key cues and breathing
- Find and feel: Pause at the top of each glute contraction and feel the muscle squeeze.
- Pelvic position: Keep a neutral pelvis — avoid overarching the lower back.
- Slow and controlled: 2–3 seconds concentric (lifting), 2–3 seconds eccentric (lowering) where possible.
- Breathe: Exhale on the effort (e.g., when lifting), inhale on the return.
Daily warm-up (3–5 minutes)
- Cat-cow mobilization — 30 seconds
- Half-kneeling hip flexor stretch — 30 seconds each side
- Glute banded walks (side-to-side) — 20 steps each direction with mini band above knees
Exercises used in the plan (with quick cues)
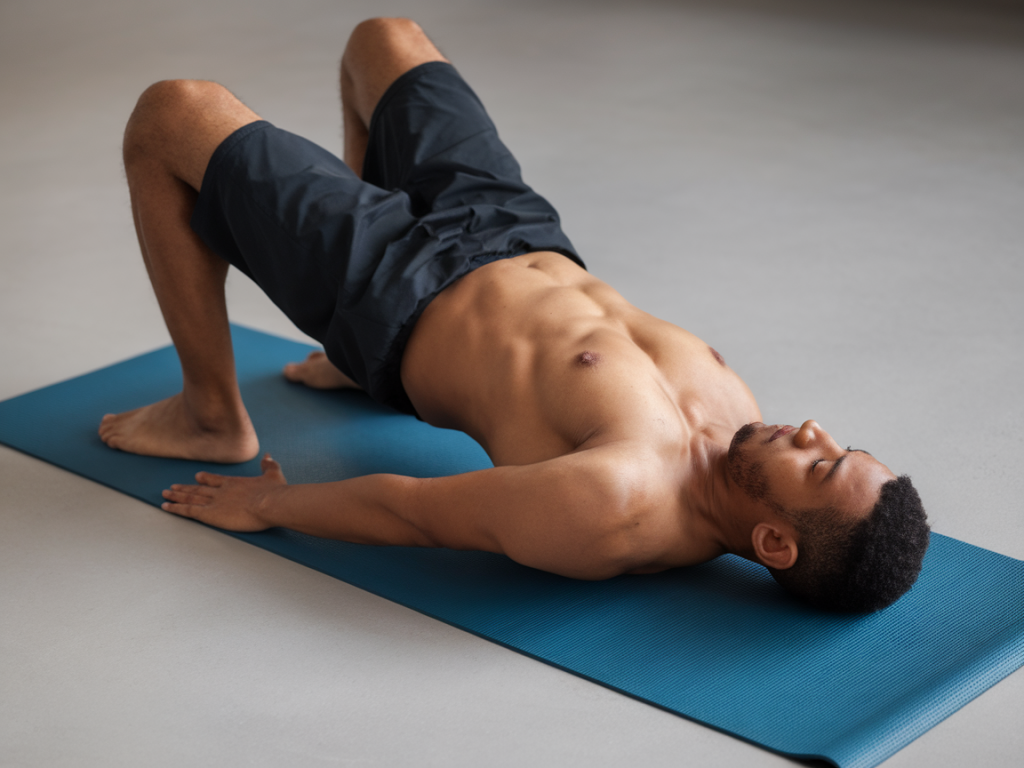
- Glute Bridge — Lie on your back, feet hip-width. Press through heels, squeeze glutes at the top, avoid hyperextending lower back. 2–3 second hold.
- Single-Leg Glute Bridge — Same as bridge but one leg extended. Keep hips level, drive through heel of working leg.
- Banded Clamshell — Lying on side with band above knees, open top knee while keeping feet together. Slow and controlled.
- Quadruped Hip Extension (Donkey Kicks) — On hands and knees, drive heel toward ceiling with a squeeze at top; avoid arching back.
- Bird Dog — Opposite arm/leg reaches straight, focus on glute activation and pelvic stability.
- Romanian Deadlift (RDL) with Dumbbells — Soft knees, hinge at hips, feel stretch in hamstrings, squeeze glutes to stand. Keep spine neutral.
- Standing Hip Abduction (band or cable) — Lift leg to the side keeping pelvis stable; great for glute medius.
- Walking or Reverse Lunges — Step with control, hip hinge as needed; stop if you feel sharp back pain.
Two-week microstrength schedule
| Day | Session | Notes |
|---|---|---|
| Day 1 (Mon) | | Focus on connection and slow reps |
| Day 2 (Tue) | | Hinge pattern practice |
| Day 3 (Wed) | | Prioritize mobility and breathing |
| Day 4 (Thu) | | Work on unilateral control |
| Day 5 (Fri) | | Integrate glutes into functional movement |
| Day 6 (Sat) | | Keep moving, avoid heavy lifting |
| Day 7 (Sun) | | Recharge |
| Week 2: Repeat with progression | | Adjust intensity, not session length |
Progressions and regression options
- If something feels too hard: reduce reps, remove weight, or switch to two-legged variations (regress).
- When it becomes easy: add a 2–5 kg/5–10 lb dumbbell to bridges or do slower tempos (progress).
- If you have knee issues, favor glute bridges and RDLs over lunges until your knees feel stable.
Pain vs. discomfort — what to watch for
You may feel muscle fatigue and mild soreness — that’s normal. Stop any exercise that causes sharp or radiating pain down your leg, numbness, or anything that increases your familiar lower-back pain significantly. If symptoms persist or worsen, check with a physio or GP. A lot of clients find that gentle glute activation reduces their pain within days; others need a few weeks of consistent practice.
Small routine to add into your day (5 minutes)
- 30 seconds banded glute bridge pulses
- 30 seconds each side clamshells
- 30 seconds bird dogs slow
- 1 minute mindful walk focusing on glute squeeze with each step
Daily habits that help
- Sit less: break long sitting blocks every 30–45 minutes with a 1–2 minute stand and glute squeeze.
- Sleep and recovery: aim for consistent sleep (7–9 hours) to support muscle repair.
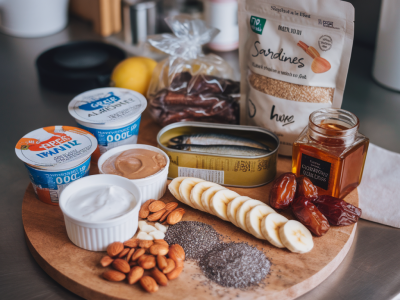
- Nutrition: enough protein and anti-inflammatory foods help recovery — simple meals with beans, fish, eggs or Greek yogurt work well.
- Footwear: supportive shoes during walks encourage better hip mechanics.
If you try this two-week plan, I’d love to hear what changes you notice. Start small, listen to your body, and remember: consistent micro-efforts lead to surprisingly big wins. If you want, I can tailor a follow-up four-week progression based on how your hips and back respond.