I used to feel that familiar dull ache across my lower back after long days of sitting and short nights. It wasn’t dramatic, just the kind of background pain that makes lacing shoes or picking up a toddler feel unnecessarily challenging. Over time I learned that a compact, consistent core routine—one you can do from your desk and finish on the floor—was the most practical way to reduce that pain and feel steadier in everyday movements. Below is the 12-move routine I use and teach, with progressions, cues, and a two-week plan to help you make real change without extremes.
Why a desk-to-floor routine?
Because life isn’t always a gym session. A routine that starts seated (or standing) and finishes on the floor fits into coffee breaks, lunch hours, or bedtime rituals. It targets the deep stabilizers of the spine (think transverse abdominis, multifidus, pelvic floor) and the big movers (glutes, obliques) to create balanced support for the lower back. Most low-back pain is related to poor movement patterns and weak stabilizers, not just “bad” discs—so strengthening and teaching your body to brace and move efficiently pays off fast.
How to use this plan
Commit to doing the routine 4–6 times per week for two weeks. Each session takes 12–18 minutes. Start with the suggested sets/reps and keep focus on quality over quantity: controlled breathing, slow transitions, and neutral spine. If a move causes sharp pain, stop and swap to the modification. I often use a thin yoga mat and a chair; a light resistance band (TheraBand or similar) is helpful but optional.
Quick checklist before you start
- Wear comfortable clothes and have a mat or soft surface.
- Set a timer for 12–18 minutes or use the rep cues below.
- Keep a chair nearby and a band if you have one.
- Focus on breathing: inhale to prepare, exhale during effort.
The 12-move desk-to-floor core routine
| Move | Starting position | Reps / time | Key cue |
|---|---|---|---|
| Seated pelvic tilts | Sit tall in chair | 10–12 | Rock pelvis forward/back, small range, engage low belly |
| Seated marching | Chair | 30–60s | Keep ribcage down, press lower back to seat |
| Standing anti-rotation hold (band optional) | Stand, band anchored | 2 x 20–30s each side | Resist twist; square shoulders |
| Kneeling bird-dog | All-fours | 8–10 each side | Reach long, keep hips level |
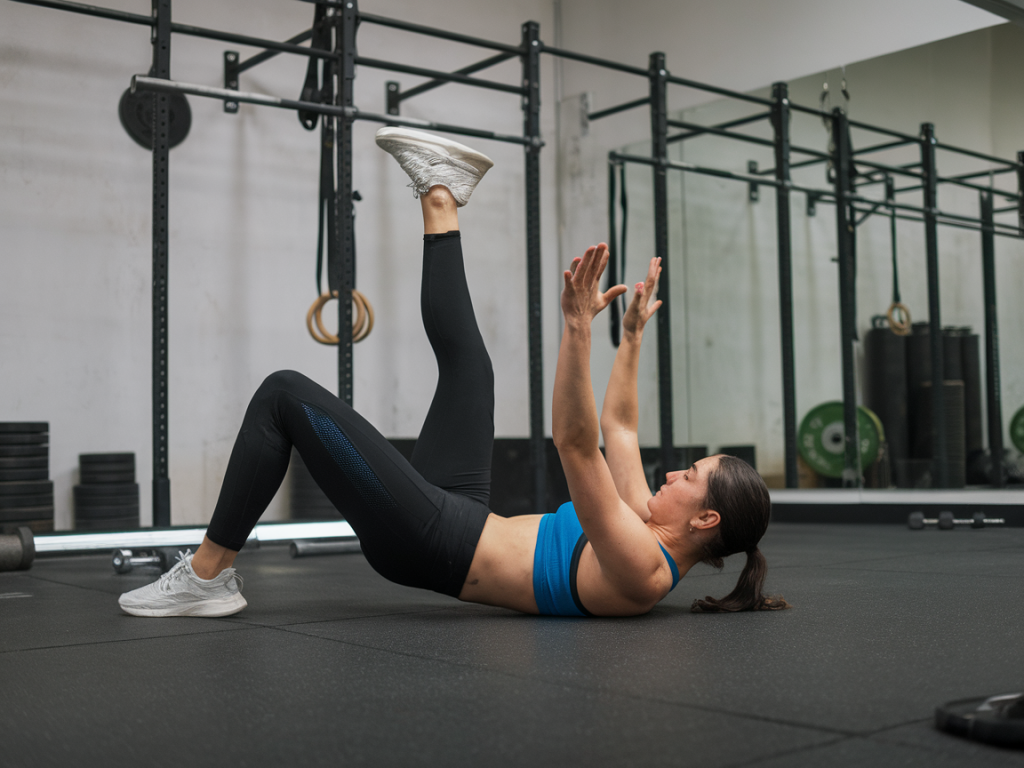
| Dead bug | On back, knees up | 8–12 each side | Low back stays neutral, slow exhale to reach |
| Glute bridge | On back | 12–15 | Squeeze glutes, avoid overarch of low back |
| Side plank (knee down option) | On side | 2 x 20–40s each side | Stack hips, draw low ribs in |
| Heel slides | On back | 10–12 each side | Keep pelvis stable, move from hips |
| Pallof press (anti-rotation) | Standing, band at chest | 8–10 each side | Press away slowly, resist rotation |
| Clamshells | Side-lying | 12–15 each side | Lead with heel, keep pelvis still |
| Modified plank to forearms | Elbows or knees | 2 x 30–45s | Neutral spine, breathe deeply |
| Child’s pose with diaphragmatic breathing | Seated on heels | 60s | Slow belly breaths, soften shoulders |
Progressions and regressions
If you’re new to core work, prioritize the regressions: do bird-dogs with alternating arm OR leg (not both), hold side plank with knee on the floor, and start with bridges that have a shorter hold. As you gain strength, progress by adding a light band to dead bugs, loading bridges single-leg, increasing anti-rotation hold time, or moving planks from knees to toes.
Daily structure I recommend
Week 1: Do the full sequence 4–5x per week. Move slowly, focus on form, and keep total session time under 20 minutes. Week 2: Increase frequency to 5–6x or add small progressions (more time under tension, extra reps on weak side). By the end of two weeks you should notice less nagging stiffness after sitting and greater ease lifting or bending.
Breathing and cues that really help
- Exhale on effort: breathe out as you lift or press (glute bridge up, dead bug reach) to recruit deep abdominals.
- Draw the lower ribs to the pelvis: gentle cue that reduces overextension.
- Move slowly: 2–3 seconds on the eccentric/lengthening phase and controlled return.
Common questions I get
Won’t core work make my back sore? Stronger, well-balanced core muscles protect the spine. If you feel new or sharp pain, back off and choose a gentler modification. Soreness (DOMS) in glutes or abs is normal, but no sharp nerve pain should occur.
How soon will I feel better? Many people notice improved posture and less morning stiffness within 7–10 days when they’re consistent. Lasting change takes routine—think of these two weeks as a jumpstart.
Do I need equipment? No. A chair and a mat are enough. A light resistance band (TheraBand or similar) is a small investment that adds great value for anti-rotation work.
Small habit tips to support your back
- Set a 60–90 minute timer to stand, breathe, and do 1–2 minutes of seated pelvic tilts or marching.
- Swap one extended sitting period for a short walk or 5-minute mobility break.
- Sleep with a pillow between knees if you sleep on your side to keep hips and low back neutral.
Stick to the plan, listen to your body, and tweak the routine as needed. If you want, I can send you a printable two-week checklist or a short video demo of the moves—tell me which you prefer and I’ll share it.